
Becoming an expert in exposure settings
Photography is all about light. Whether you’re shooting landscapes, family portraits, or even product photography, exposure determines how your camera captures the image in front of you.
Understanding exposure means being proficient at balancing three key photography settings: aperture, shutter speed, and ISO. This is called balancing ‘The exposure triangle‘.

Aperture
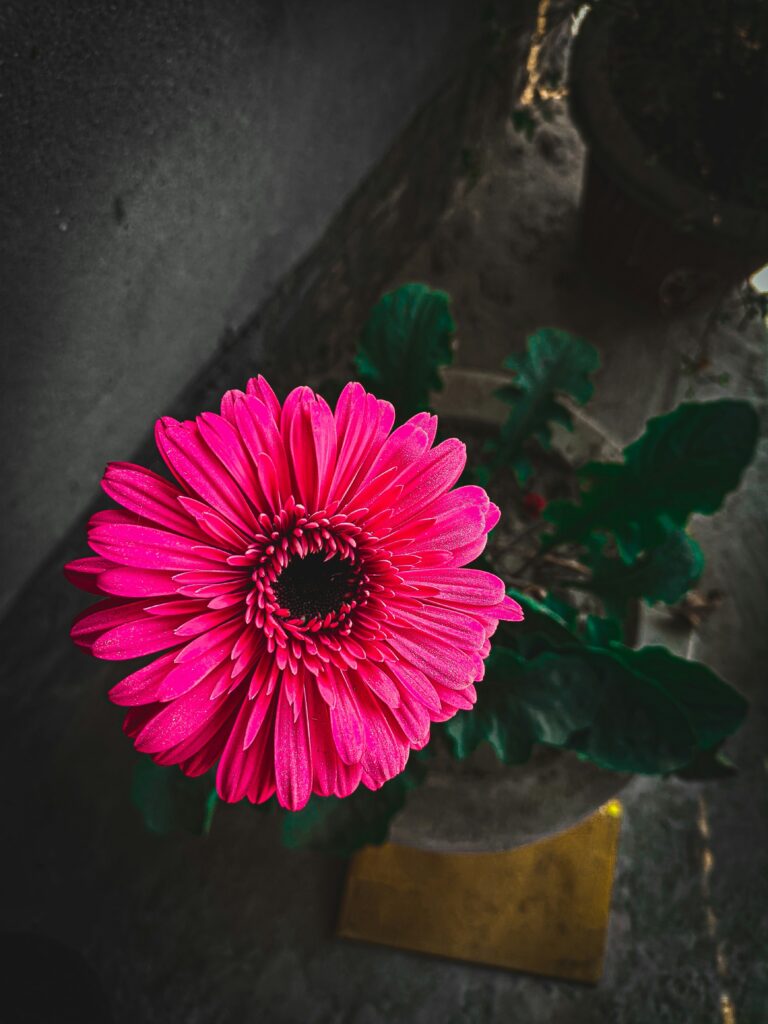
The aperture in a camera is the size of the opening of your lens. Essentially, altering the size of the aperture changes the amount of focused and blurred space within the photograph. Wide apertures blur backgrounds gorgeously, while narrow apertures keep the whole scene sharp.
Shutter Speed
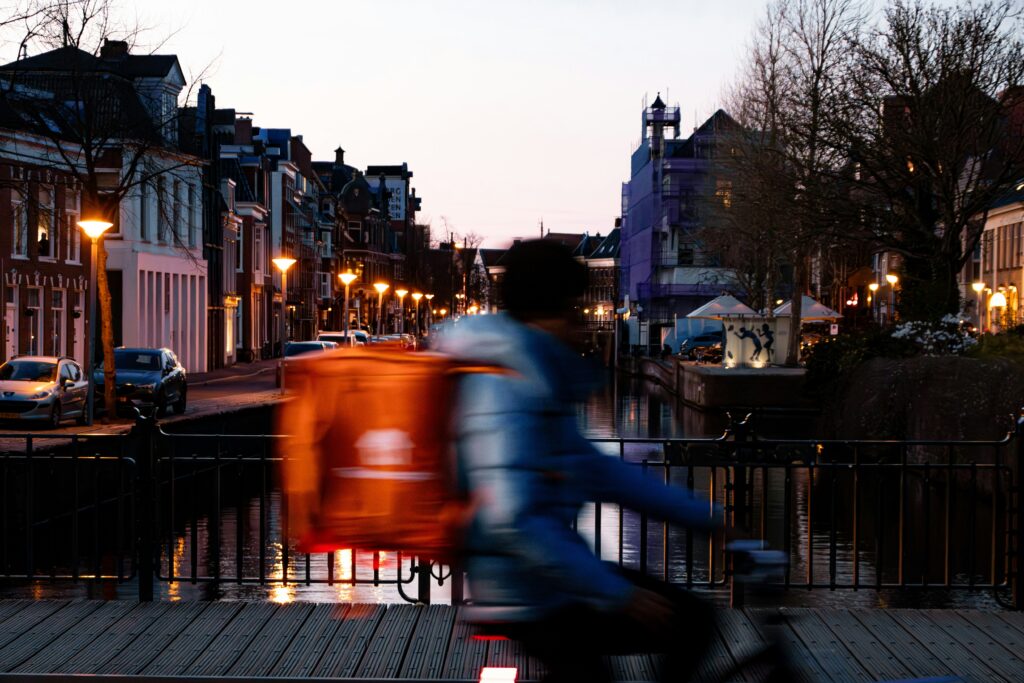
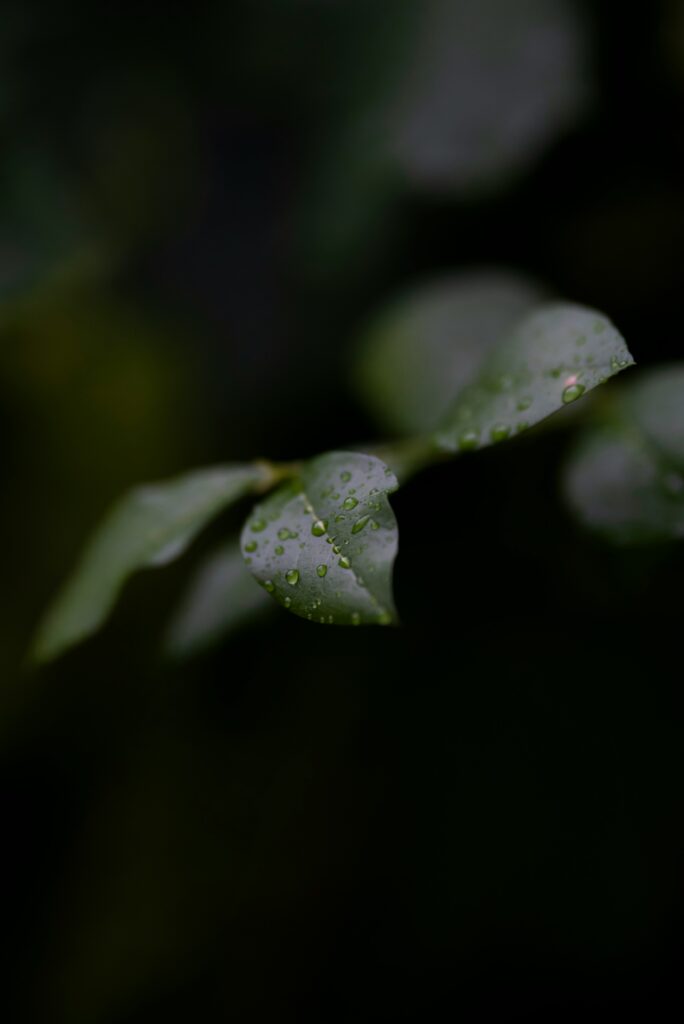
The shutter speed is how long your camera’s shutter stays open for. A slower shutter speed lets in more light and can create dreamy starscapes at night. Whereas, a faster shutter speed can freeze movement such as a bird’s wings or even raindrops.
ISO
The ISO makes your camera sensor either more or less sensitive. A low ISO creates clean, high quality images, however it needs lots of light to work. Whereas, a higher ISO works fantastically in low light, but the images often turn out oversaturated and grainy.
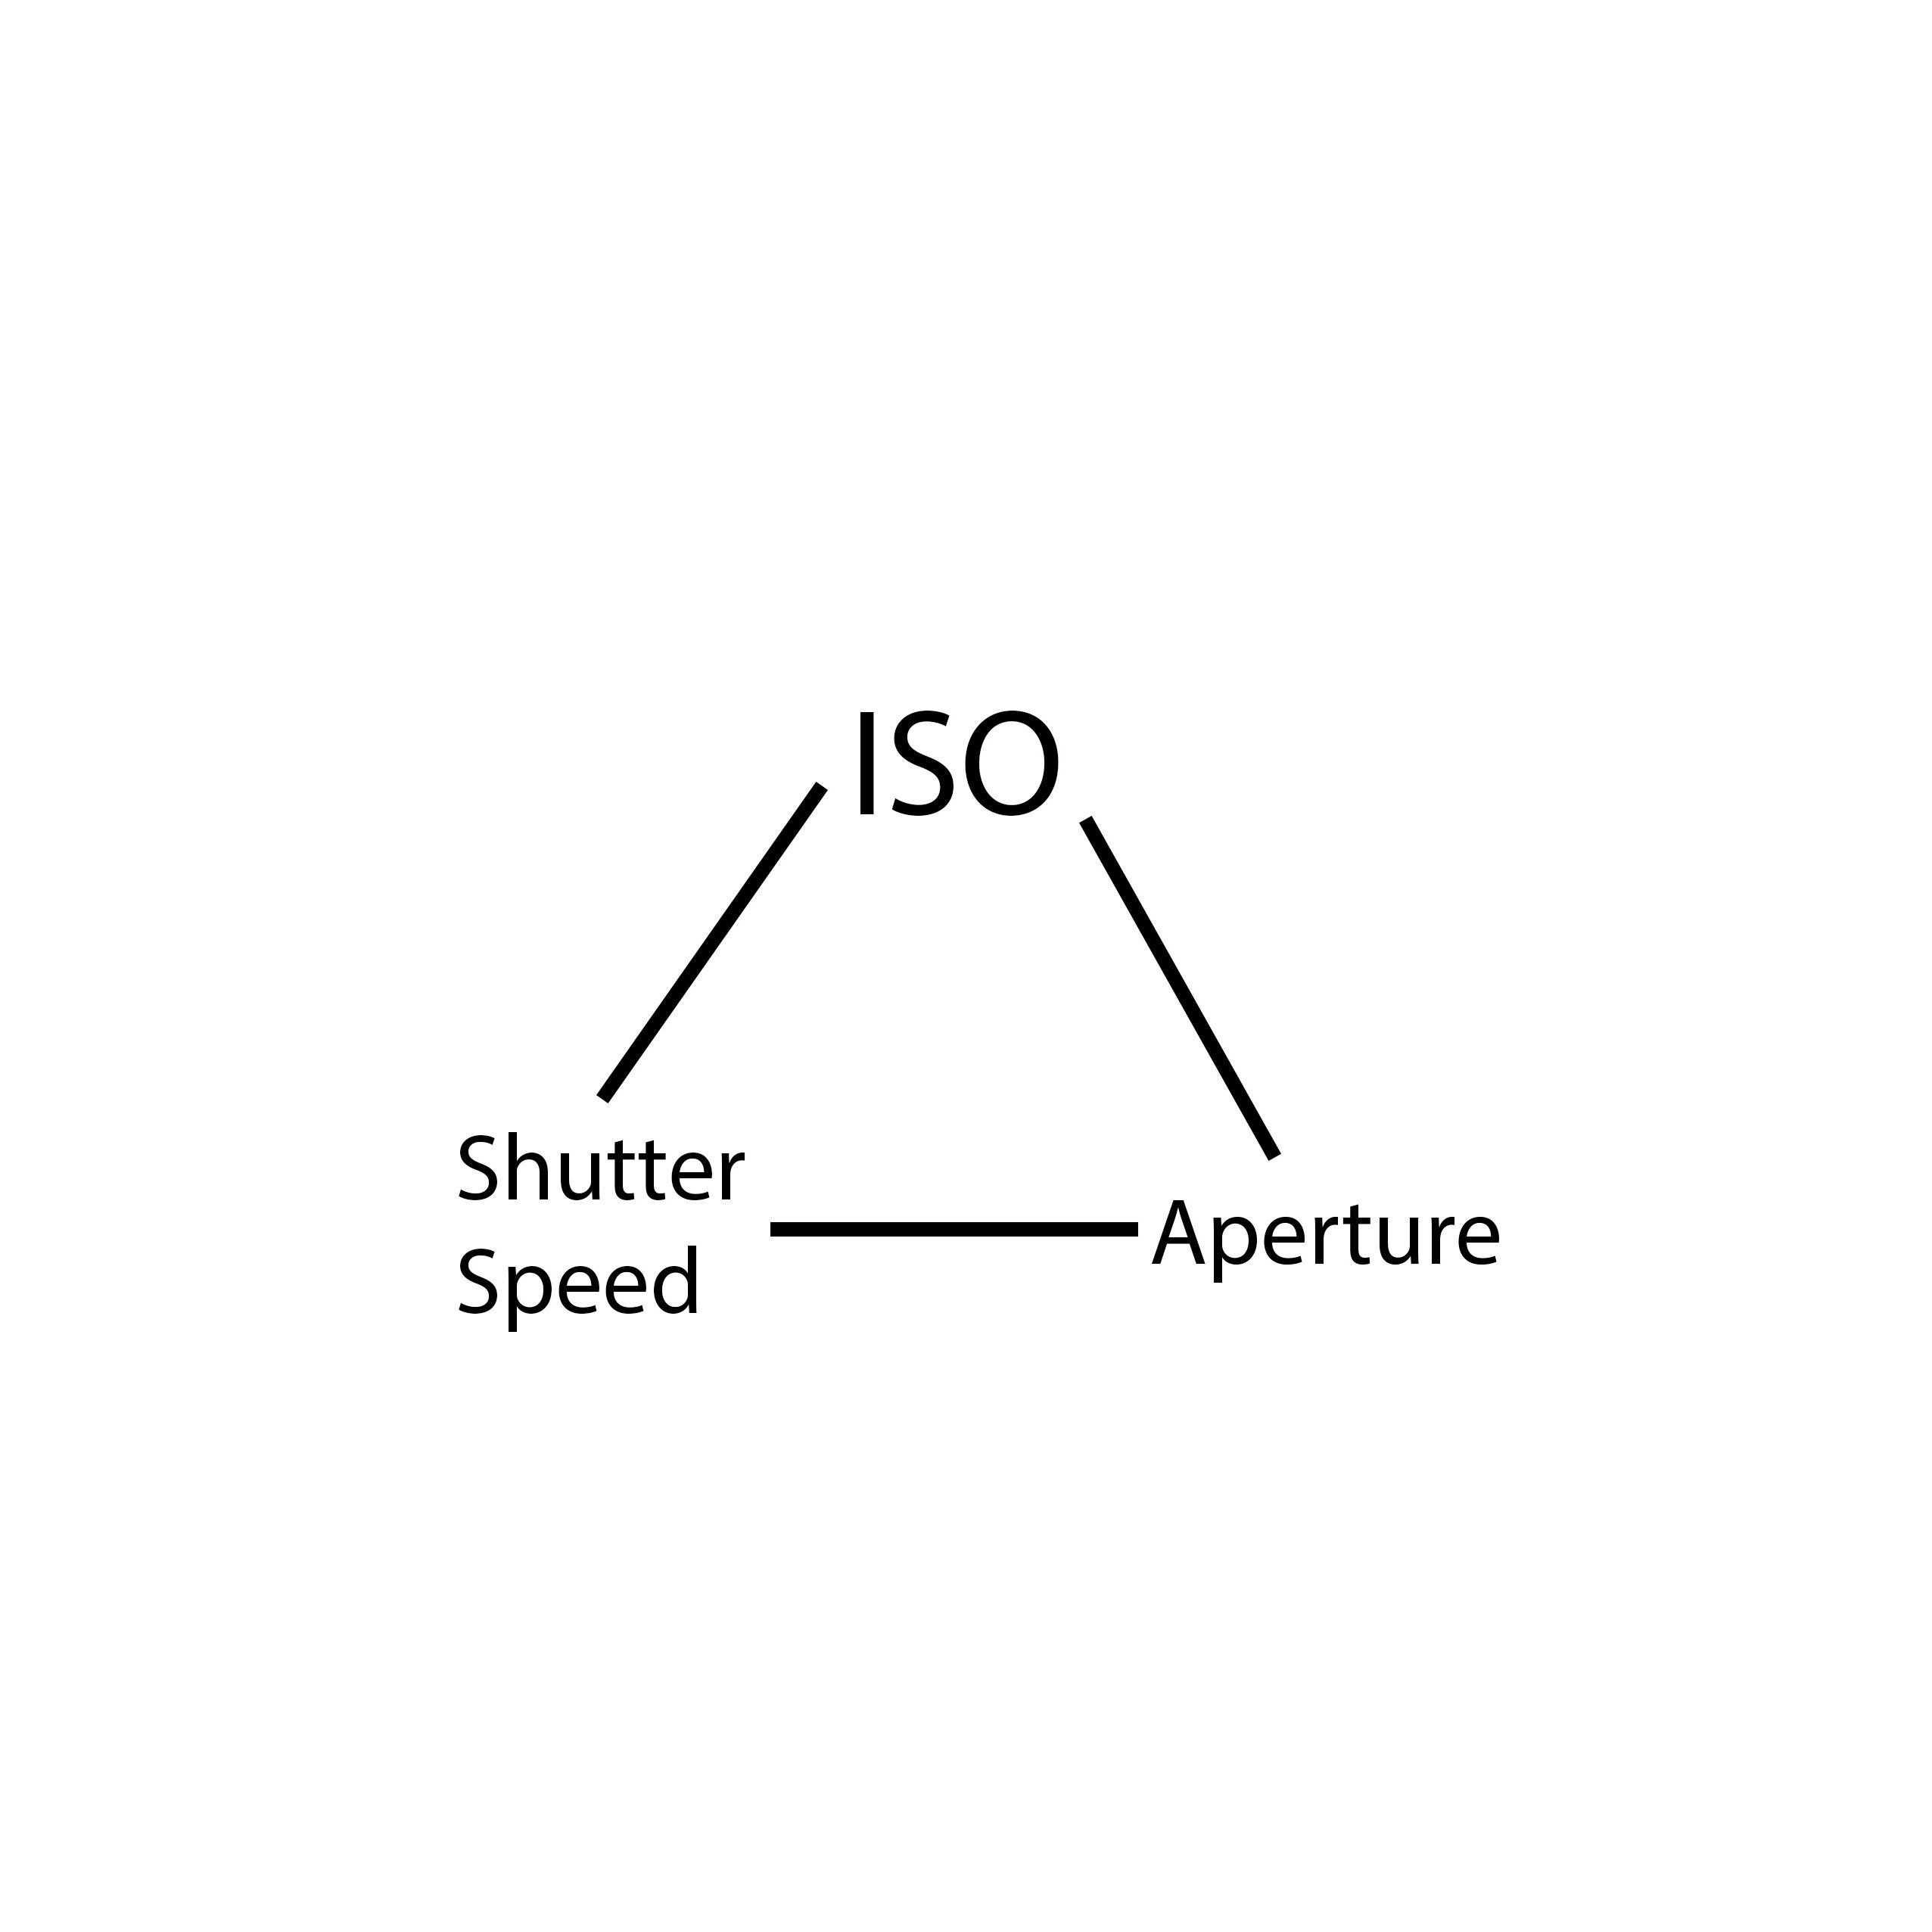
Balancing the triangle
The magic of photography lies in balancing these three elements. Changing one side of the triangle always affects the others.
For example:
- If you want a shallow depth of field (wide aperture), you might need a faster shutter speed or a lower ISO to avoid overexposure.
- Shooting at night? You may need a slower shutter speed and higher ISO to get enough light.
Think of it as a dial or a tug rope – when one setting is changed another must be altered to restore balance.
The Three Crucial Settings in Detail
If photography is an art form, then the exposure triangle is your brush. Once you balance shutter speed, aperture, and ISO, you can control not only brightness, but also the style and mood of your photographs. Each setting influences the others, and together they define how your camera captures a scene.
Here’s a more in depth explanation of each setting:
Shutter Speed
Shutter speed determines how long the camera’s shutter stays open, and therefore, how long light is allowed to reach the camera’s sensor. One way of thinking about it is, the longer the shutter stays open for, the more movement it can capture in a photograph. It’s measured in fractions of a second (like 1/250s) or in whole seconds for long exposures.
Fast shutter speeds (1/500s – 1/8000s):
- Freeze motion with razor-sharp precision.
- Essential for sports, wildlife, or street photography where subjects move quickly.
- Prevent blur caused by hand movement (camera shake).
Slow shutter speeds (1/30s – 30s):
- Capture motion blur for creative effects.
- Great for light painting, waterfalls, ocean waves, and astrophotography.
- Require stabilization (tripod) to avoid unwanted blur.
Aperture
Aperture is the opening inside your lens that controls how much light passes through to the sensor. Think of it this way, the lower the aperture the less light can pass through the lens, therefor, more of the photo will be out of focus. It’s measured in f-stops (f/1.4, f/2.8, f/5.6, f/16, etc.).
Wide apertures (low f-numbers like f/1.4 – f/2.8):
- Let in more light, helpful in dim conditions.
- Create a shallow depth of field (blurry backgrounds).
- Perfect for portraits, food photography, and isolating a subject.
Narrow apertures (high f-numbers like f/11 – f/22):
- Let in less light.
- Increase depth of field, keeping foreground and background sharp.
- Ideal for landscapes, architecture, and group shots.
ISO
ISO is your camera sensor’s sensitivity to light. Unlike shutter speed and aperture, ISO doesn’t physically control light — it amplifies the sensor’s response to it. In film cameras, you’d control ISO by using different types of film. In my professional opinion, it’s better to use the lowest ISO that you can to get the cleanest, most detailed images.
Low ISO (100–400):
- Produces clean, detailed images with minimal noise.
- Best for bright daylight or when you have plenty of light.
Medium ISO (800–1600):
- Useful for indoor photography, events, or golden-hour shooting.
- Slight noise may appear, but still good for most purposes.
High ISO (3200+):
- Boosts brightness in very dark situations (concerts, night scenes).
- Introduces noticeable grain/noise, especially in older or entry-level cameras.
Pro Tip: Modern cameras handle high ISO better than older ones. Don’t hesitate to raise ISO if it means avoiding motion blur or getting a properly exposed shot. A sharp, slightly noisy photo is better than a blurry one.
How they Work Together?
Here’s where these settings come together – adjusting one side of the triangle always impacts the other two. Here are some scenarios where they work together to achieve the perfect exposure:
- Scenario 1: Freezing action at a soccer game
- You want 1/1000s shutter speed → this cuts out a lot of light.
- Solution: Open aperture wide (f/2.8) and/or raise ISO to compensate.
- Scenario 2: Portrait with dreamy background blur
- You choose f/1.8 aperture → lots of light enters.
- Solution: Increase shutter speed (e.g., 1/500s) or lower ISO to avoid overexposure.
- Scenario 3: Night sky photography
- You need long shutter speed (15s) to capture stars.
- Solution: Use wide aperture (f/2.8) and higher ISO (1600–3200). Tripod required.
- Scenario 4: Landscape on a bright day
- You want deep focus (f/16).
- Solution: Lower ISO (100) and use slower shutter speed (1/60s). A tripod can help.
Final thoughts
Once you understand how they influence one another, you’re able to make more creative choices rather than just technical ones. In most scenarios there is always one setting more vital than the rest, knowing this and altering everything else accordingly is one of the most valuable skills in photography.
I hope you liked this post, feel free to comment below if there’s anything else you’d like me to discuss.

Leave a Reply